Option 1: Import from Google Classroom
If you use Google Classroom, importing is the fastest way to get started. Your class roster and student information will sync automatically.Google Classroom Integration
Import classes and sync rosters automatically
Option 2: Create a Class Manually
Step 1: Open the New Class Dialog
From your teacher dashboard, click the New Class button.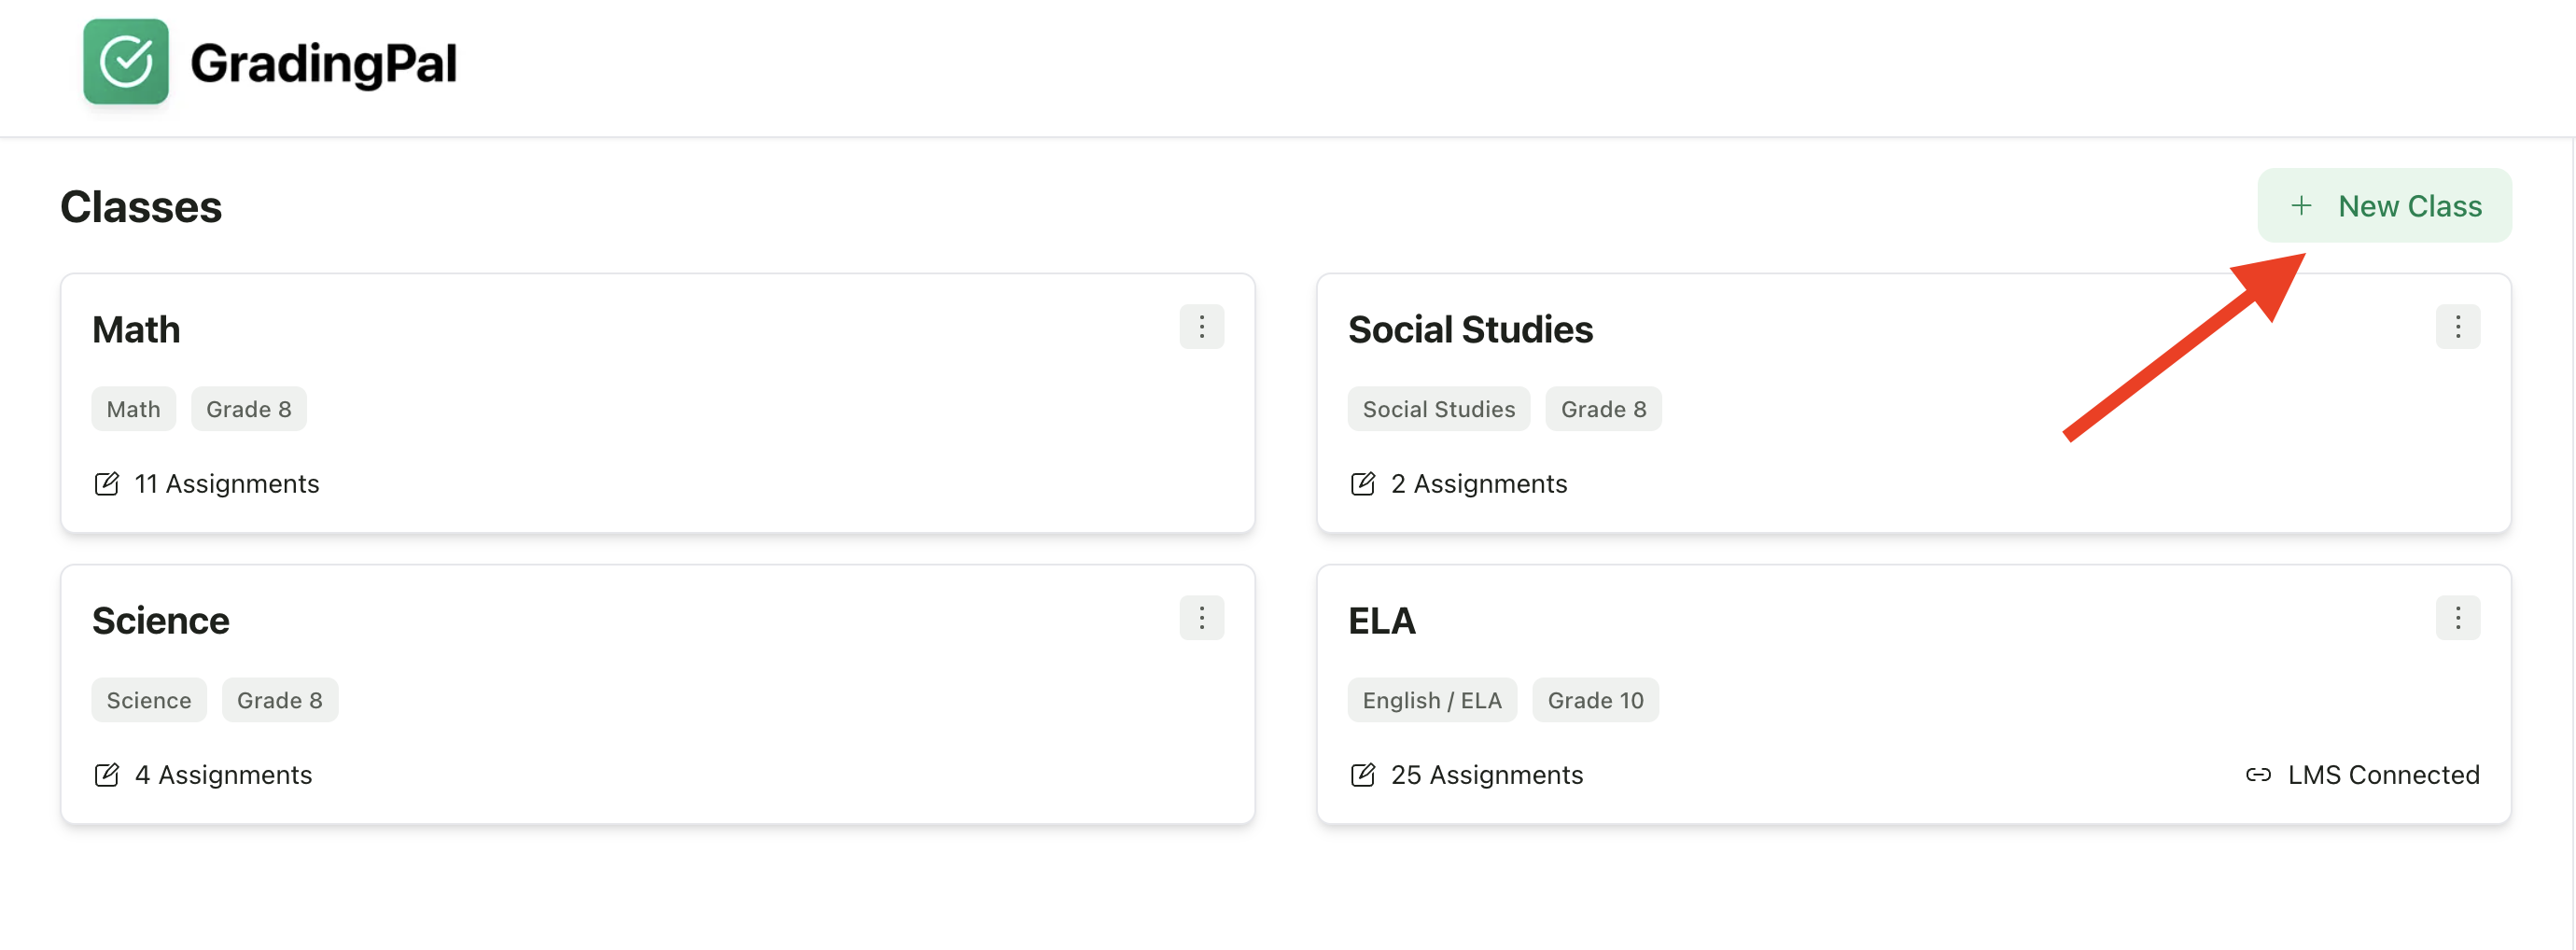
Step 2: Choose “Create Class Manually”
You’ll see two options:- Import from Google Classroom - Sync an existing class
- Create Class Manually - Set up a new class from scratch

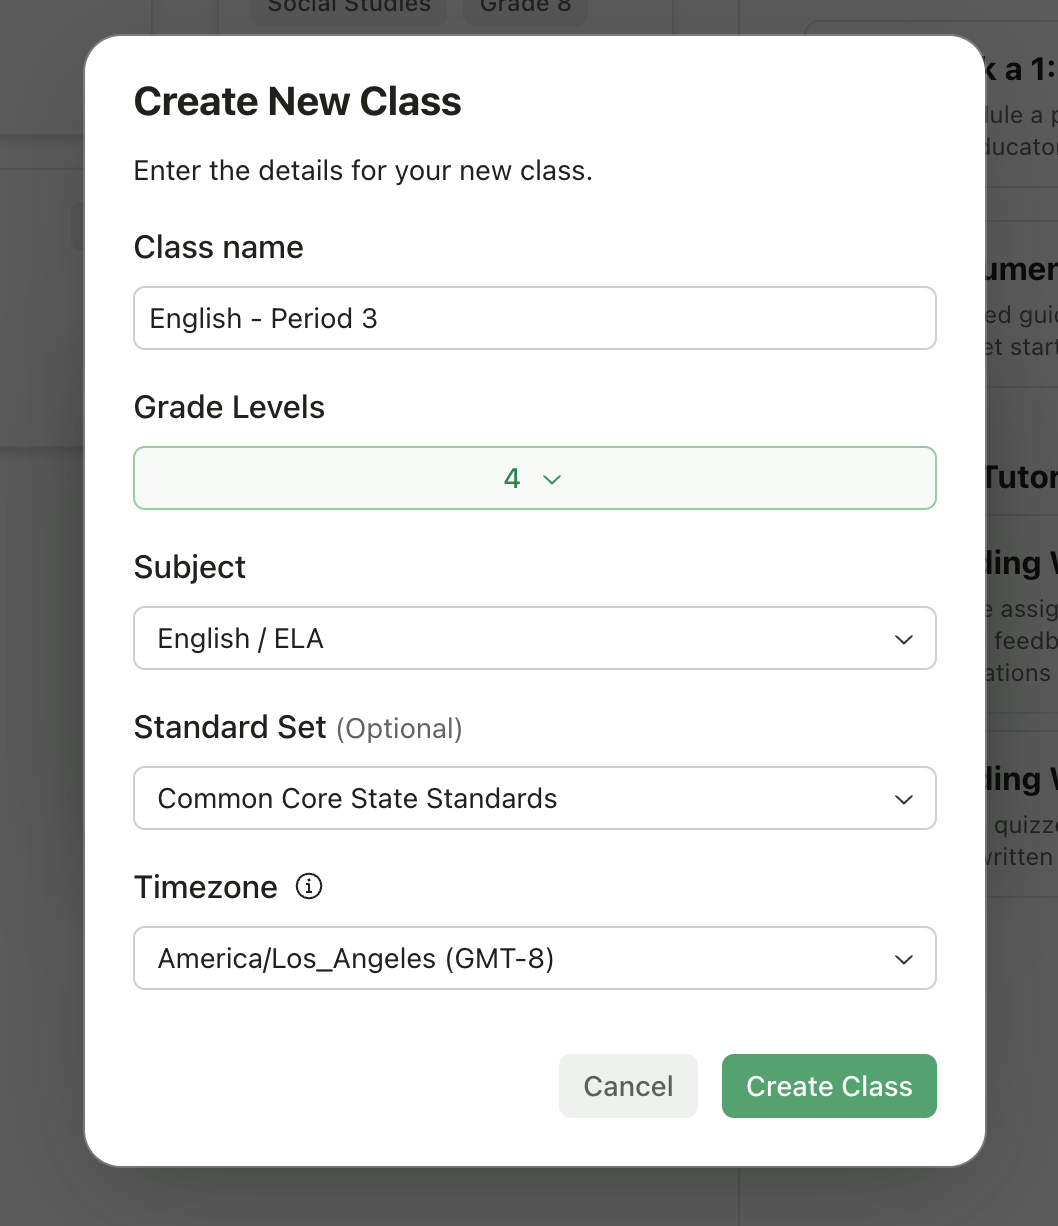
Step 3: Fill in Class Details
Enter the following information:| Field | Required | Description |
|---|---|---|
| Class Name | Yes | A descriptive name for your class (e.g., “US History - Period 2”, “AP English 11”) |
| Grade Levels | Yes | Select one or more grade levels (K–12, College, Adult) |
| Subject | Yes | Choose the primary subject area |
| Standard Set | No | Optionally select a standards framework (e.g., Common Core, state standards) |
| Timezone | Yes | Defaults to your profile timezone; used for assignment due dates |
Step 4: Create the Class
Click Create Class. Your new class will appear on your dashboard, ready for you to add students and create assignments.After Creating Your Class
Once your class is created, you’ll want to:Add Students
Enroll students via class code, invite link, email, or CSV import.
Create Your First Assignment
Select an assignment type and set up your rubric.
Organize with Folders (Optional)
Create folders to organize assignments by unit, quarter, or type.
Tips
Naming Convention
Naming Convention
Include the period or section in your class name to easily distinguish between multiple sections of the same course (e.g., “Biology - Period 3” vs “Biology - Period 5”).
Grade Levels
Grade Levels
You can select multiple grades if your class spans grade levels.
Standard Sets
Standard Sets
Setting a standard framework helps GradingPal align feedback with relevant standards when grading.