Accessing the Upload Options
You can upload submissions from two places: During assignment setup: The final step of the assignment wizard lets you upload submissions immediately.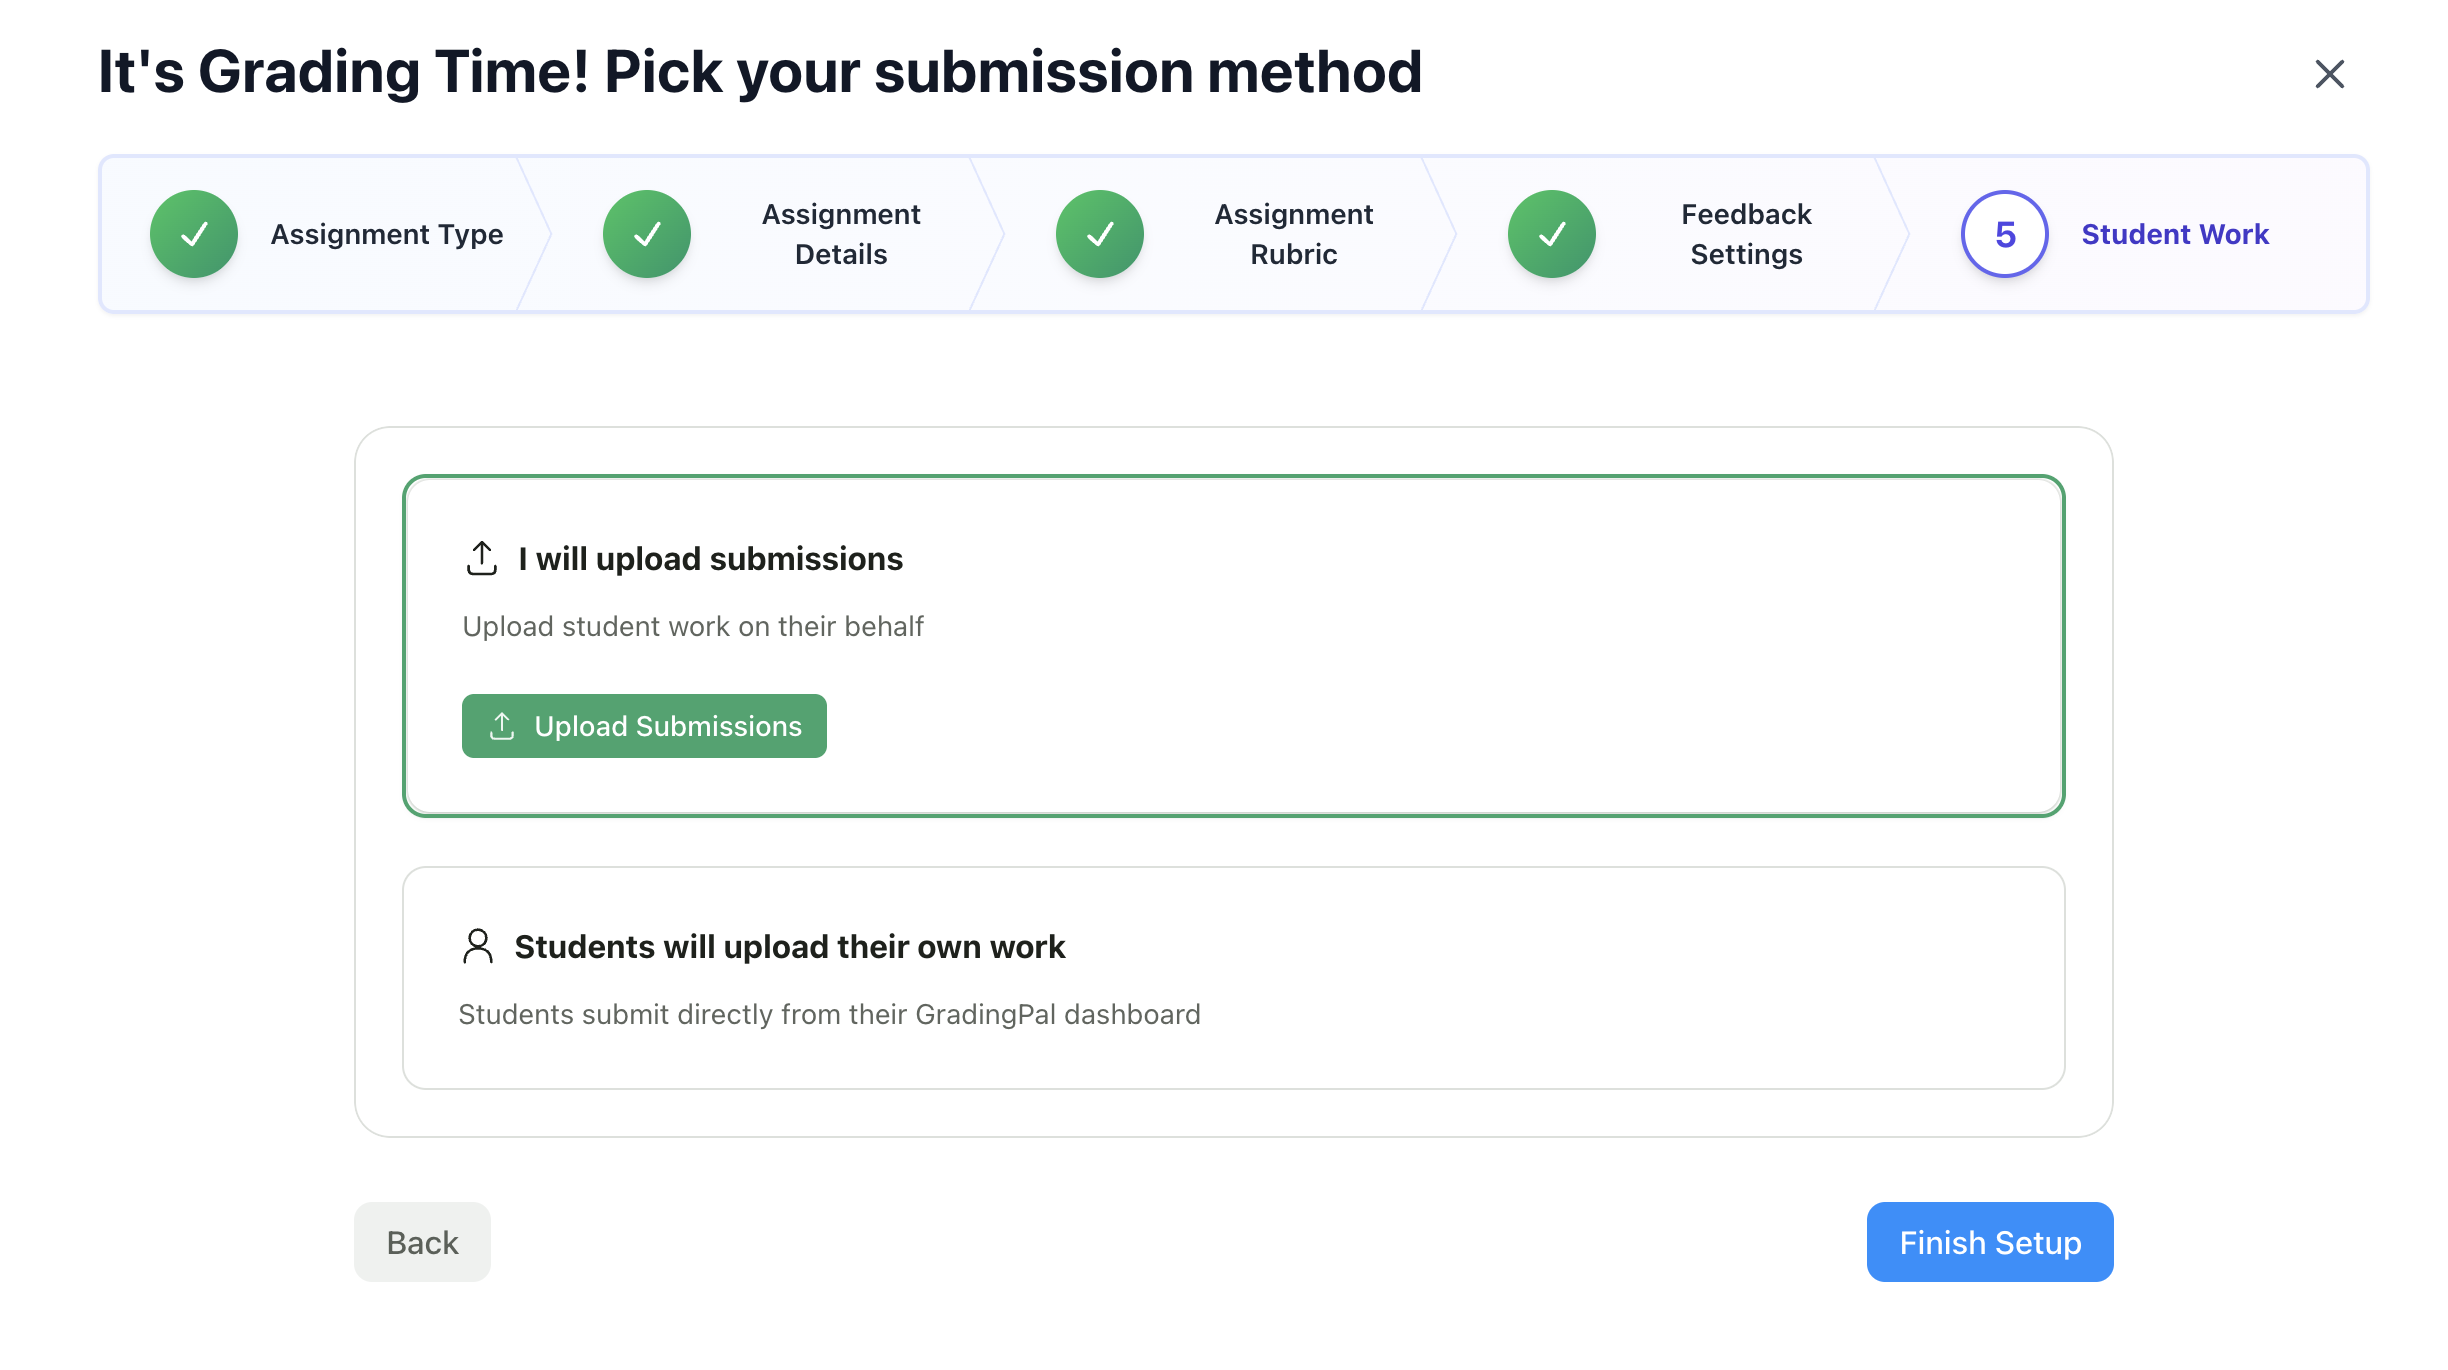
Upload Methods
Option 1: Upload from Your Device
Upload files directly from your computer.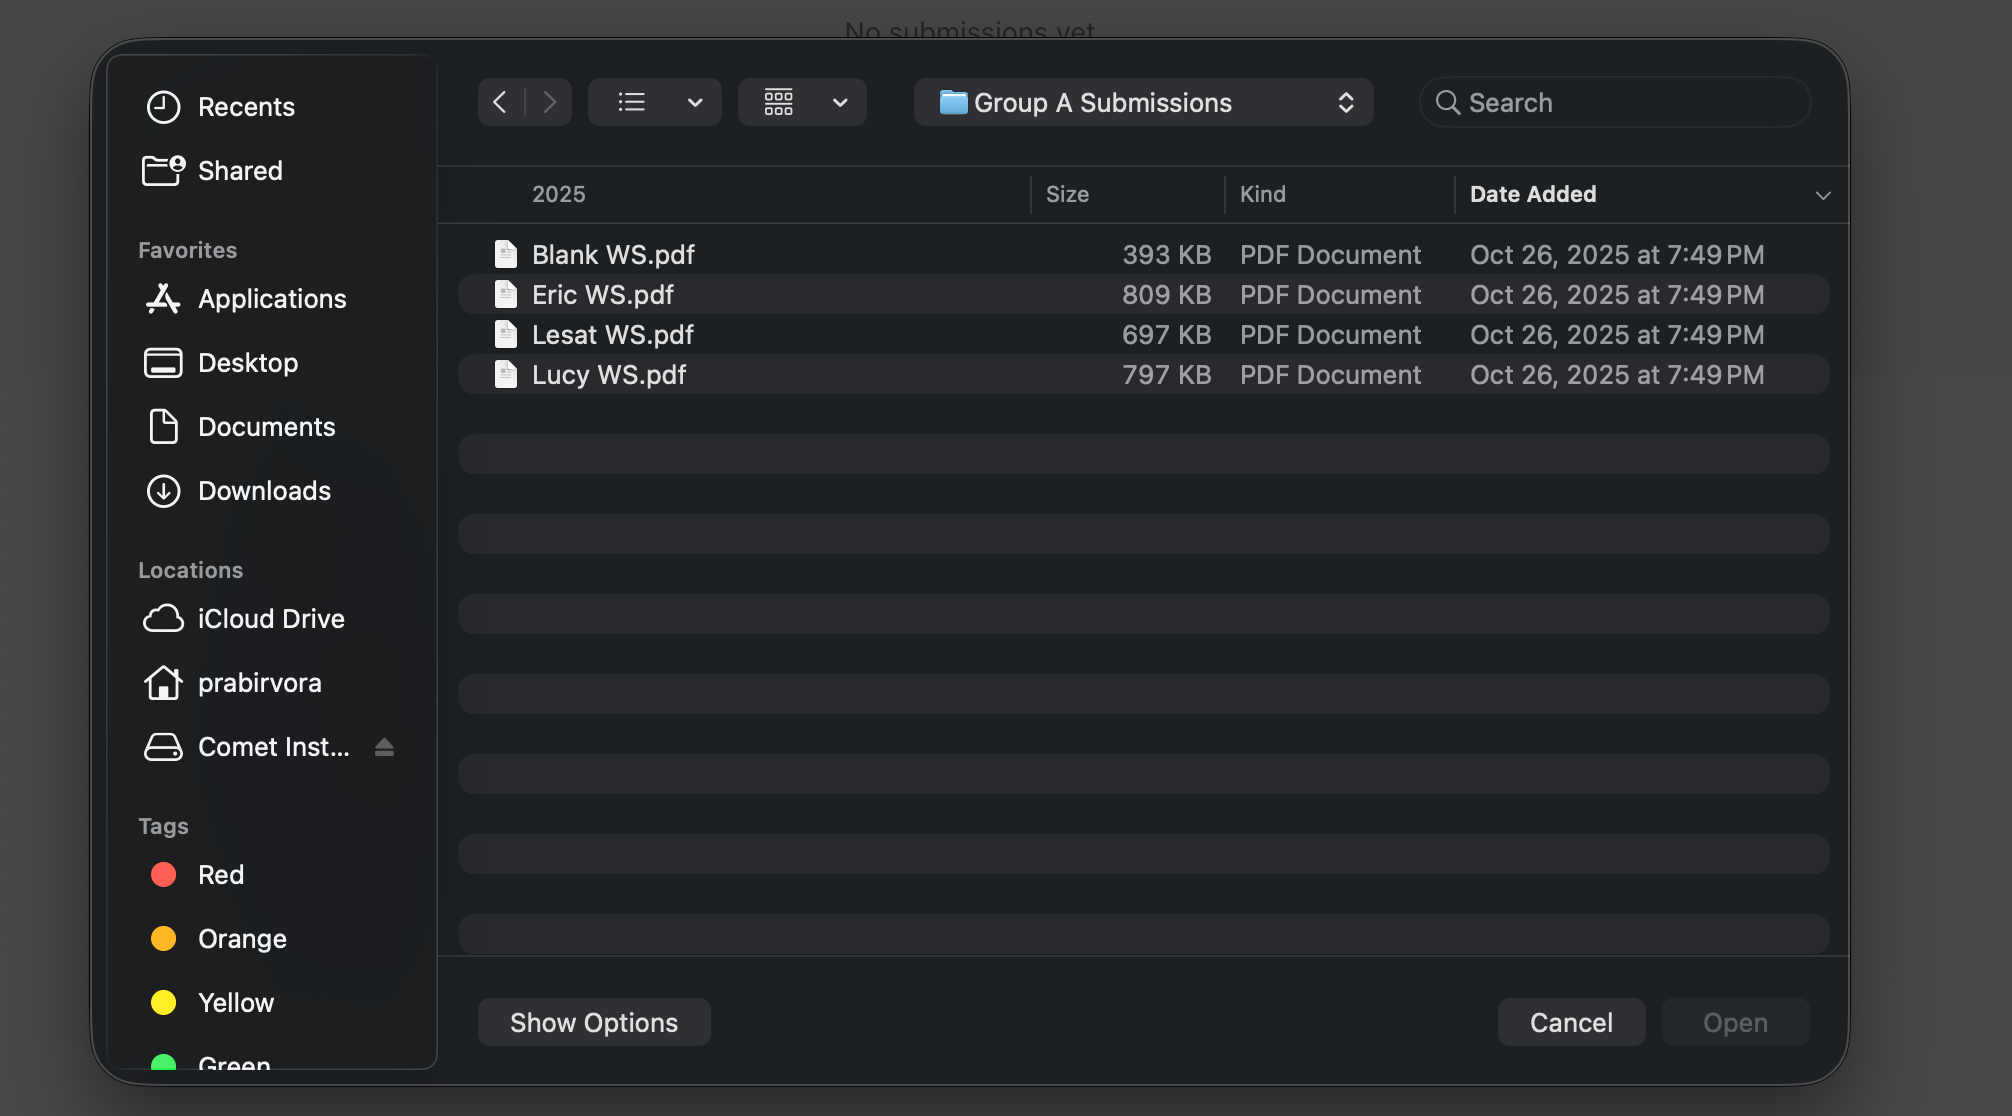
| Category | Formats |
|---|---|
| Documents | PDF, Word (.doc, .docx) |
| Images | JPG, PNG, HEIC |
| Video | MP4, MOV, WebM |
| Audio | MP3, WAV, M4A |
- Name files with student names for easier matching (e.g., “Jane_Smith_Essay.pdf”)
- Upload multiple files at once by selecting them together
- Large video files may take longer to process
Option 2: Upload from Google Drive
Select files directly from your Google Drive.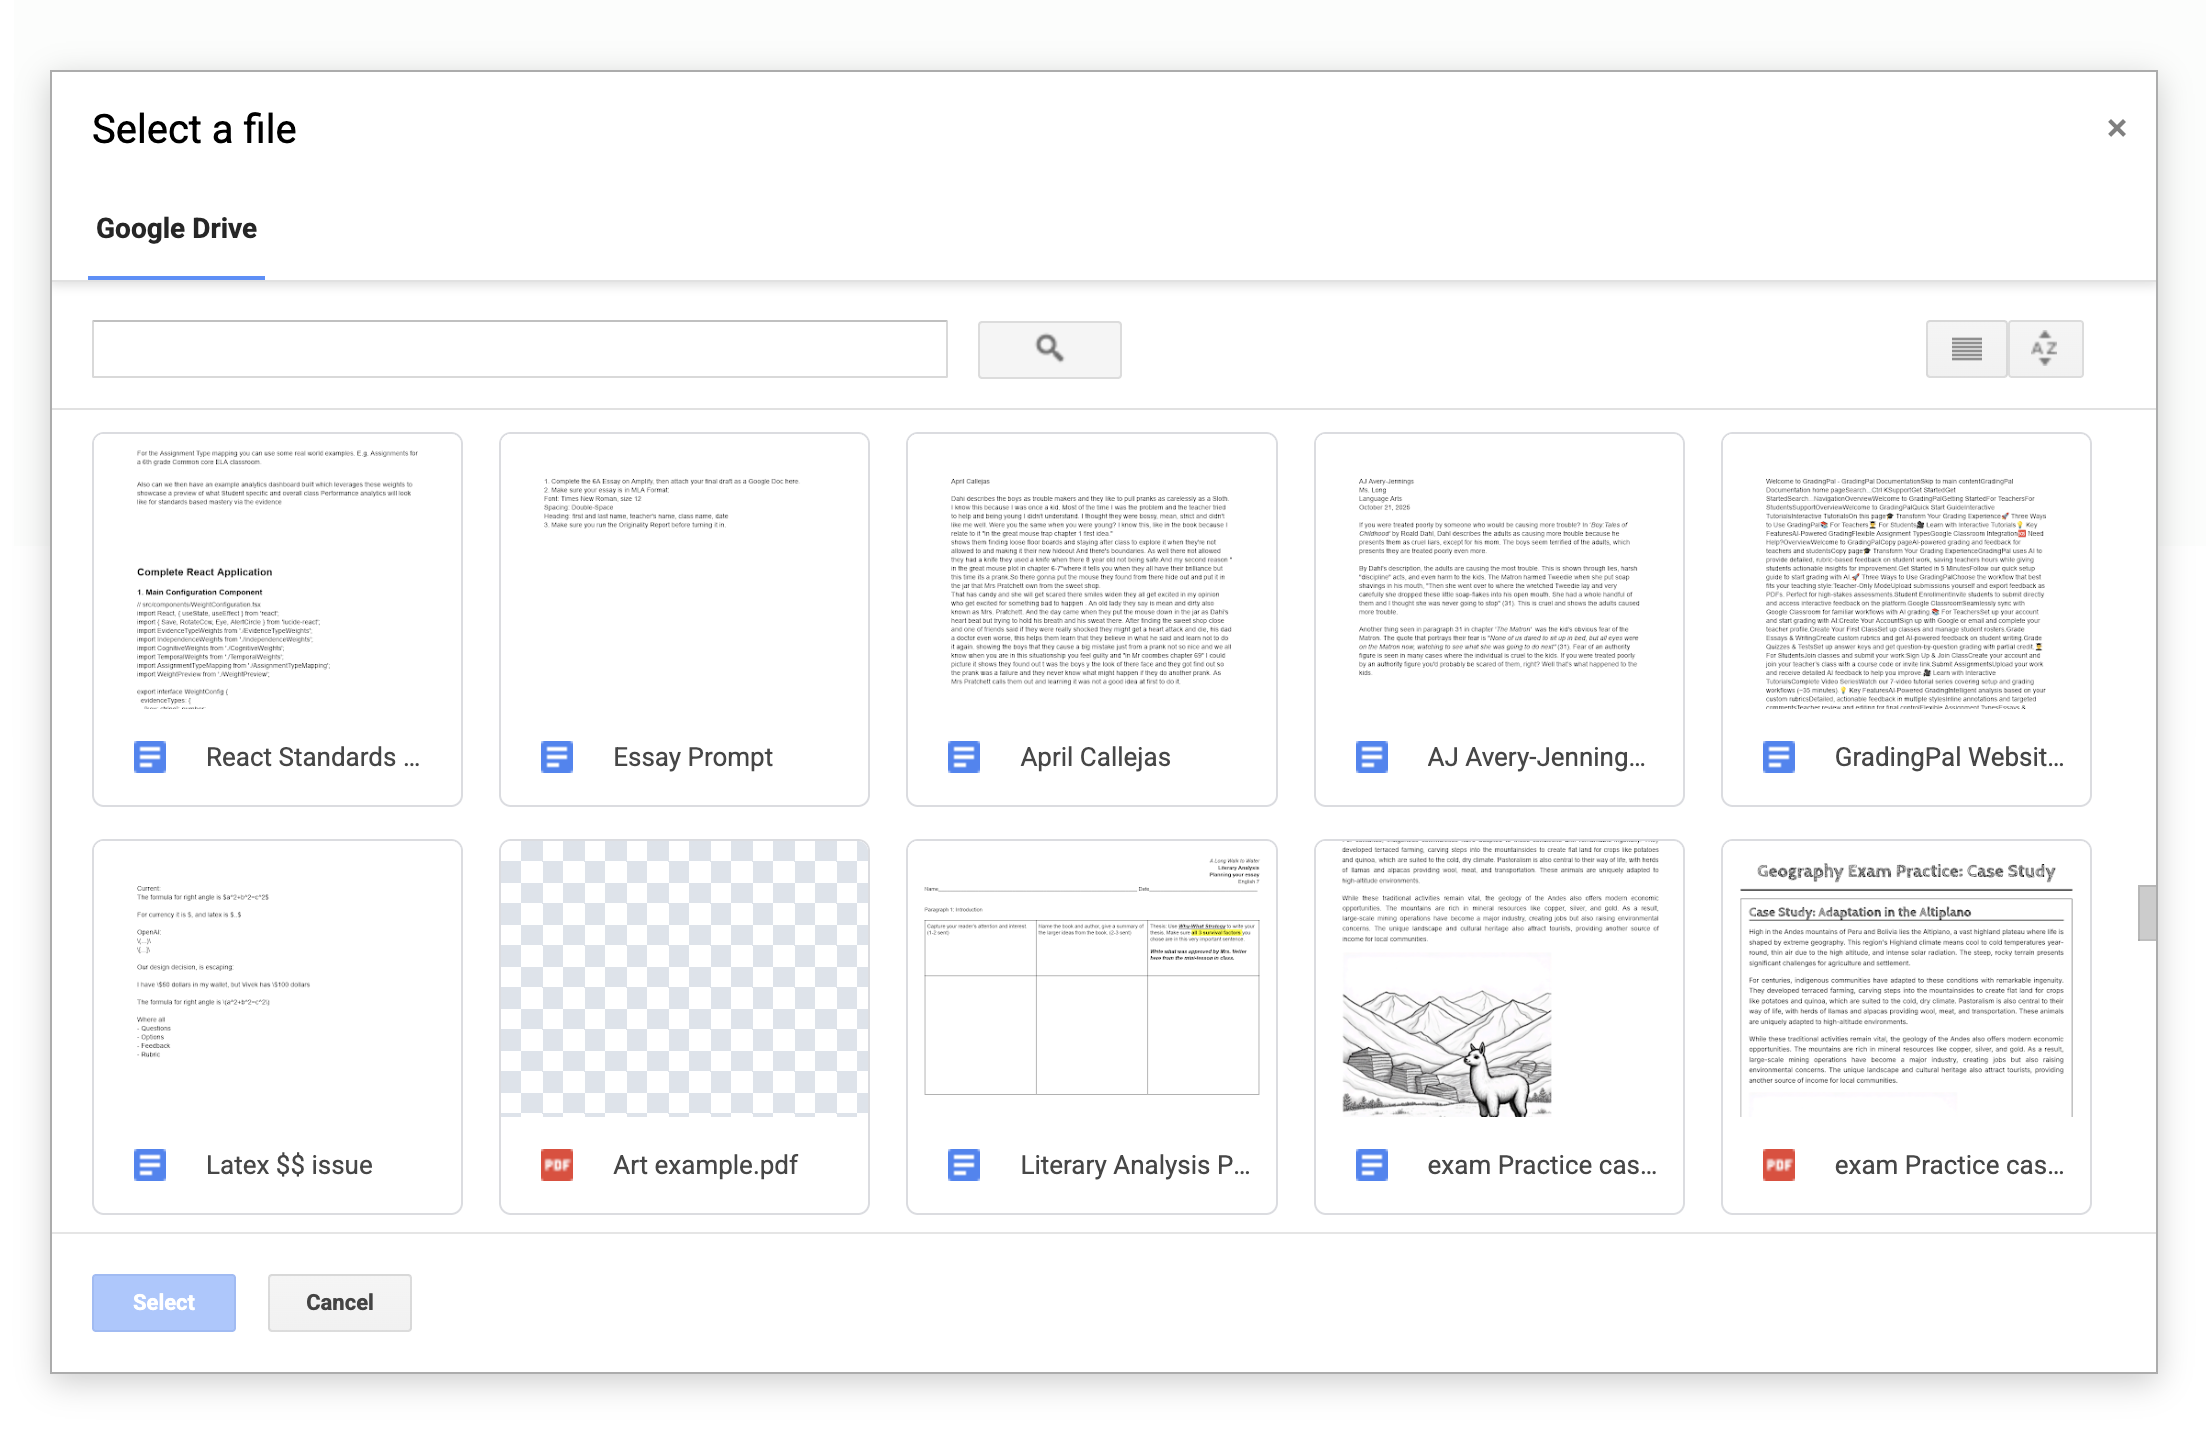
- Access files already in the cloud
- No need to download then re-upload
- Works with Google Docs, Sheets, and Slides
Option 3: Import from Google Classroom
For Google Classroom-connected classes, pull in submissions that students have already turned in.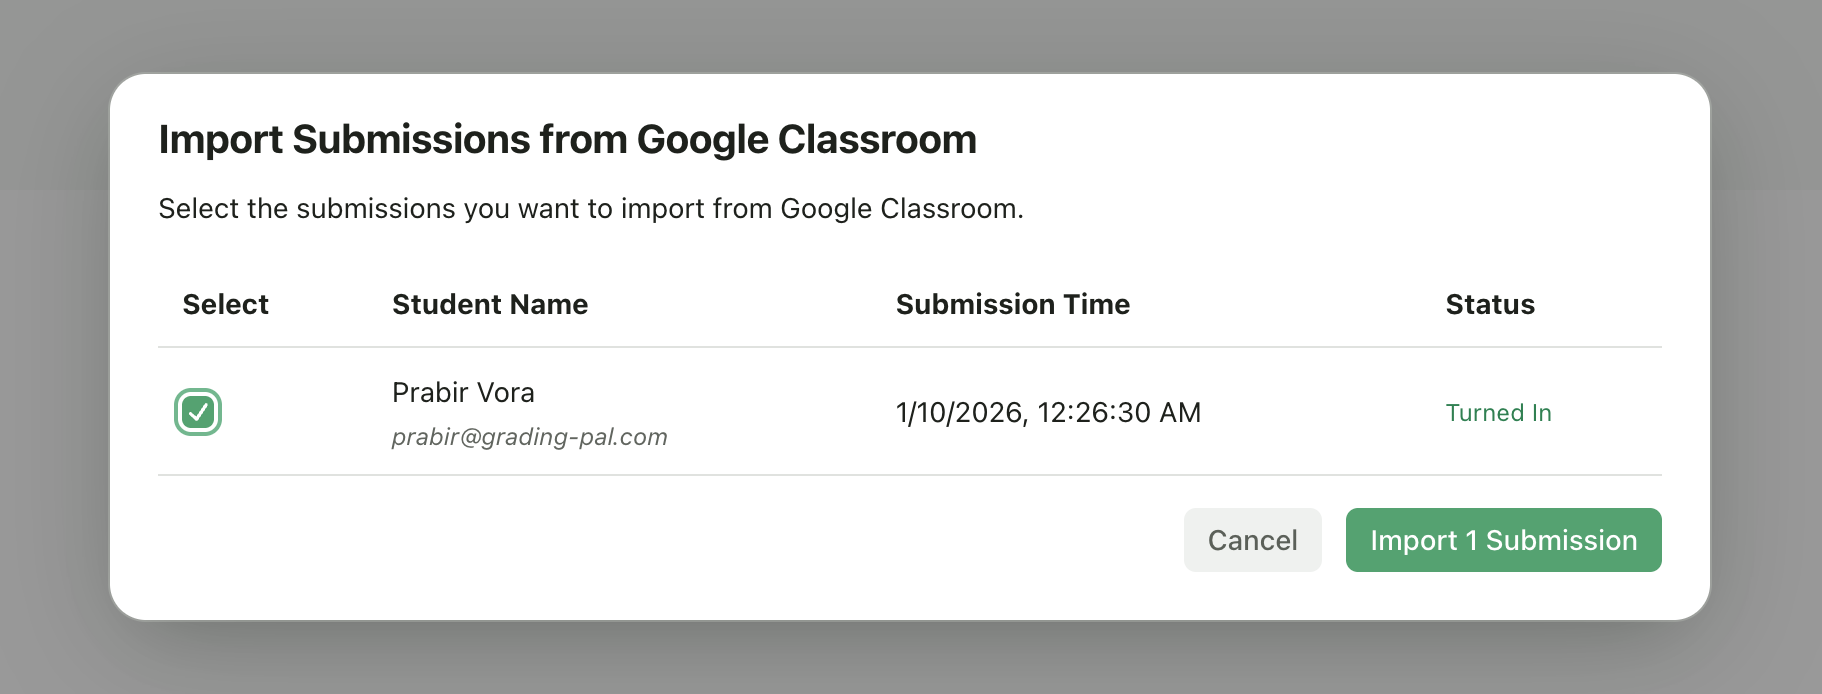
- Your class is connected to Google Classroom
- The assignment exists in Google Classroom
- Students have submitted work
Google Classroom Integration
Learn more about how submissions sync with Google Classroom
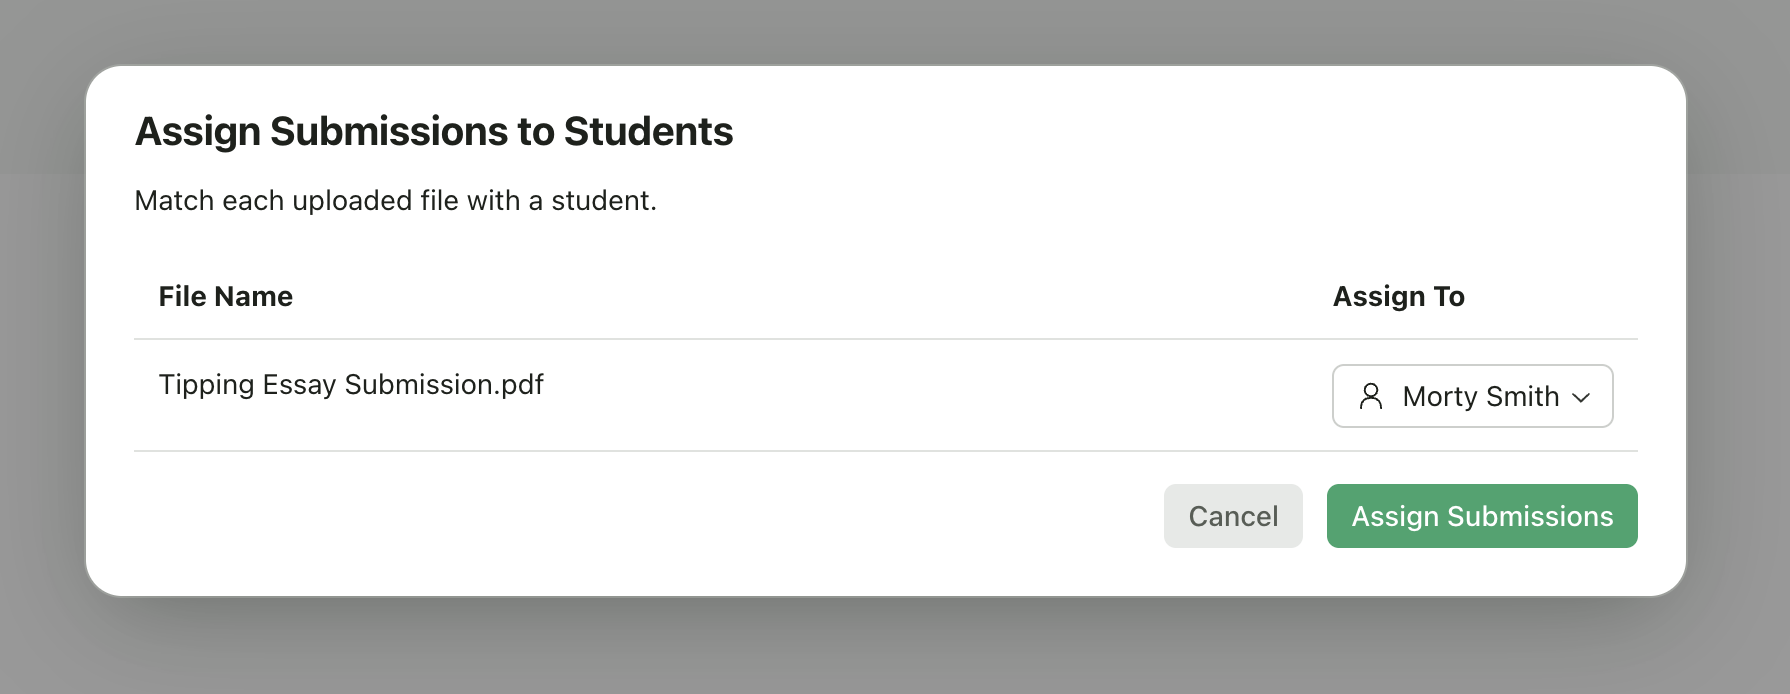
Assigning Submissions to Students
After uploading files, you need to assign each file to a student.Automatic Matching
GradingPal can automatically match files to students based on:- Student name in the filename
- Student email in the filename
- Previous submission patterns
Manual Assignment
If automatic matching doesn’t work:- Click the student dropdown next to each file
- Select the correct student from the list
- If the student isn’t enrolled, you can add them on the spot
Handling Unmatched Files
If a file can’t be matched:- The student dropdown will be empty
- Select a student manually
- Or click Add Student to enroll a new student
Student Self-Submission
Instead of uploading work yourself, students can submit directly through their GradingPal accounts.How It Works
When to Use Student Self-Submission
- Students have device access
- You want students to own the submission process
- You’re using the Student Interface workflow
Setup
Students need to be enrolled in your class. See Enroll Students for options. Once enrolled, students can submit to any published assignment in your class.What Happens After Upload
Once submissions are uploaded: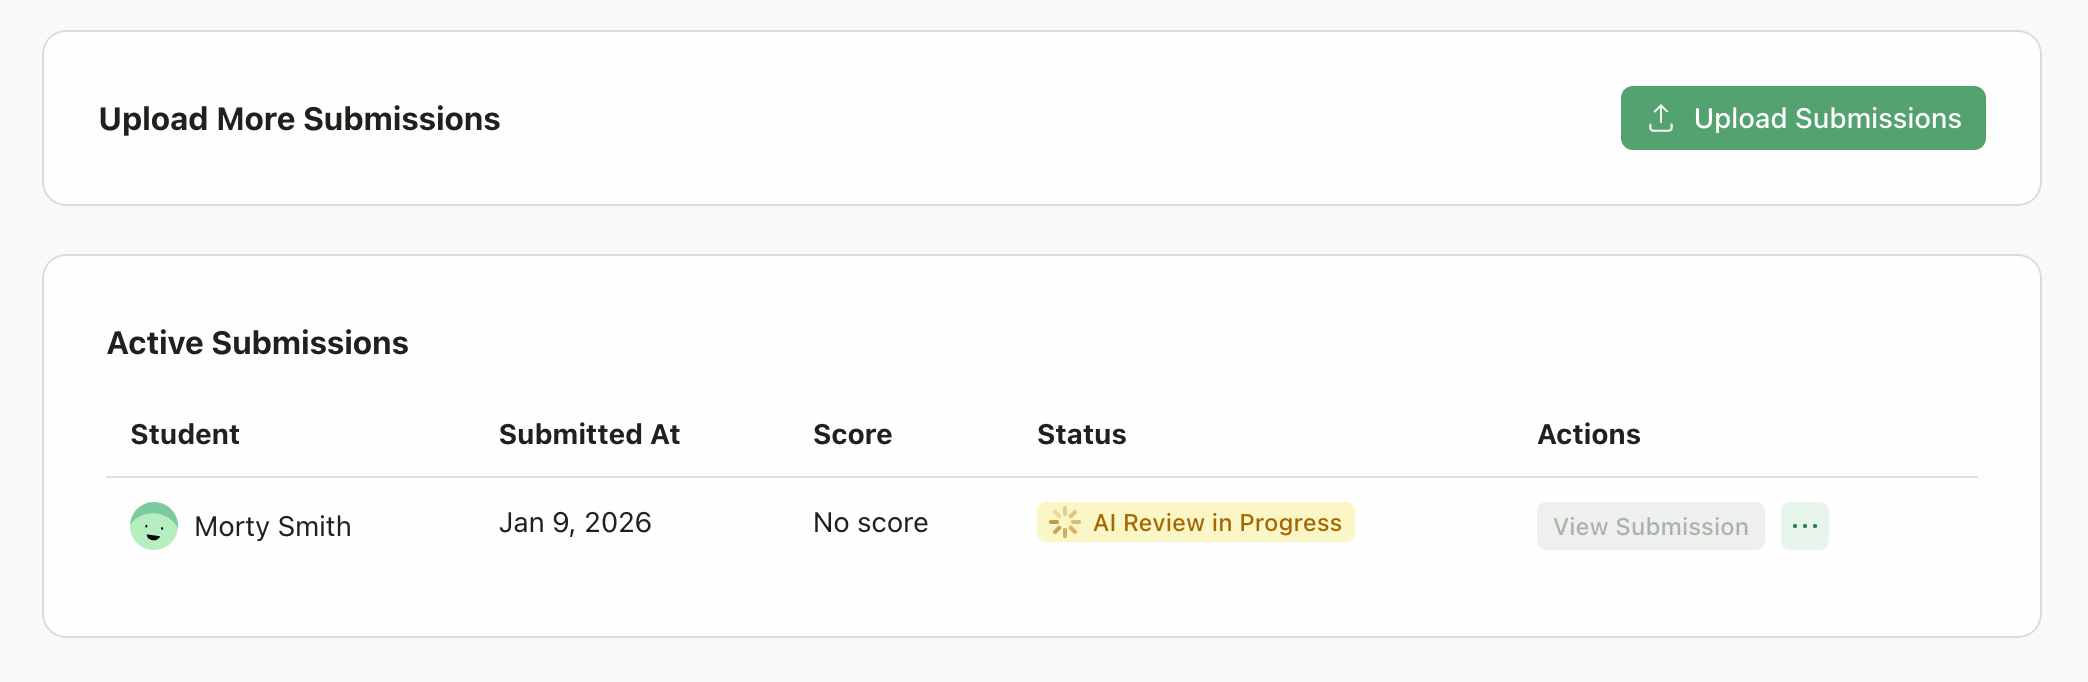
Uploading Additional Submissions
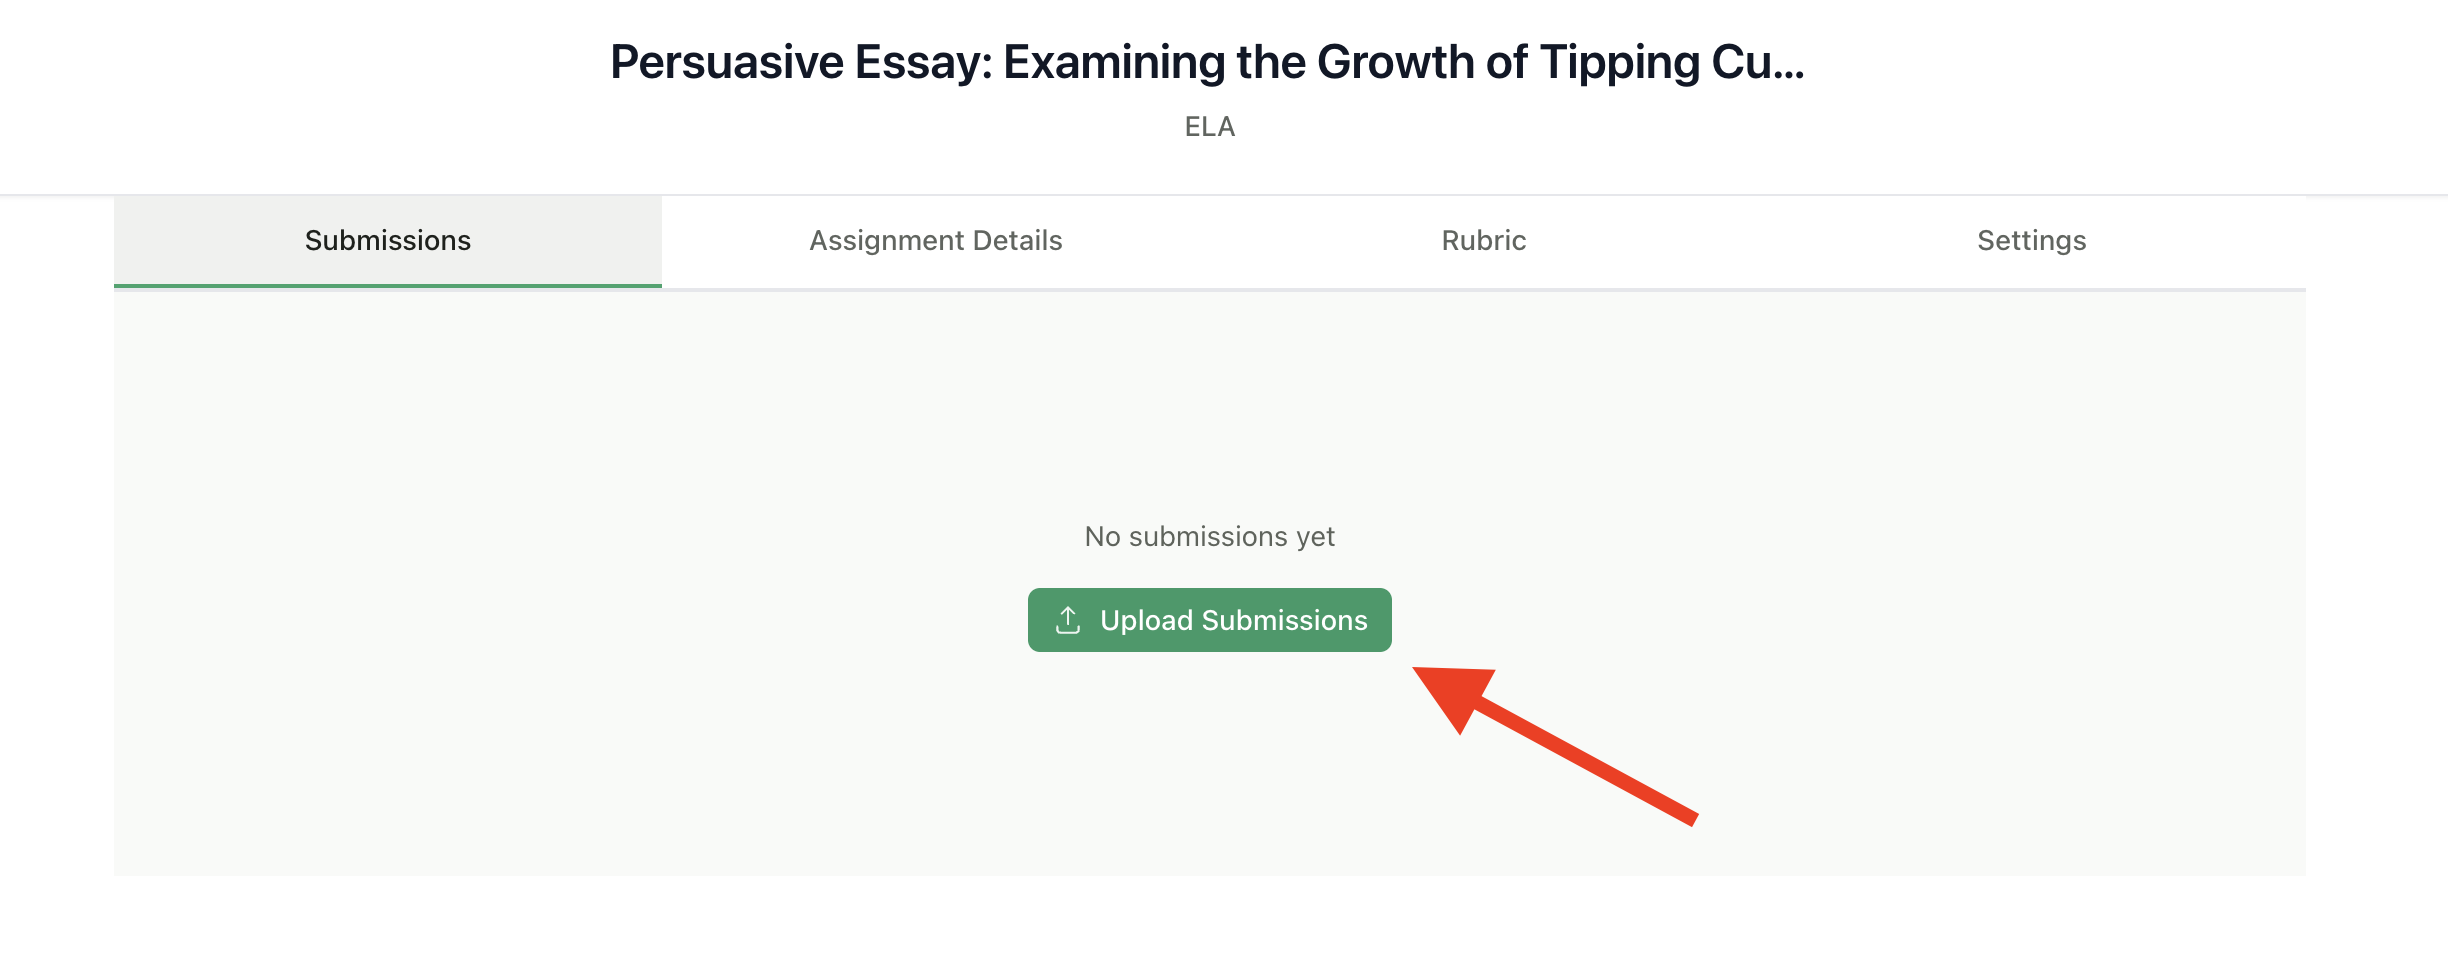
You can add more submissions to an assignment at any time:- Go to the assignment page
- Click Upload Submissions
- Choose your upload method
- Assign to students and submit
Re-uploading or Replacing Submissions
If a student needs to resubmit:- The new submission can be uploaded as normal
- Previous submissions remain in the system
- You can view submission history for each student
Troubleshooting
File won't upload
File won't upload
- Check that the file type is supported
- Ensure the file isn’t corrupted
- Try a different browser if issues persist
- For large video files, ensure stable internet connection
Student not in dropdown
Student not in dropdown
- The student may not be enrolled in your class
- Click Add Student to enroll them
- Or enroll them first via Enroll Students
Grading is taking too long
Grading is taking too long
- Video and audio files take longer to process
- Very long documents may take extra time
- Check the submission status for any errors
Wrong file assigned to student
Wrong file assigned to student
- Delete the incorrect submission
- Re-upload and assign to the correct student